
Elegant and feminine marble manicure is what women are fond of more than other types of nail design. Imitation of natural marble on nails is always a soft and discreet way of decorating. In this article, we will tell you how you can achieve this effect and by what methods you should do it.
Marble manicure is a type of nail design in which a professional creates stains on nails that mimic the appearance of marble or other natural minerals.
You can create these nails yourself. You’ll need tools like this:
- gel polish and brush;
- polyethylene;
- stamp for stamping;
- alcohol;
- acrylic;
- water.
Some producers, particularly Chinese online stores, sell such polish, which simply gives a marble effect during its application. However, using this method, you will not get an expressive and beautiful result because mineral stains are poorly seen.
Polishes, which contain rock powder, will help you imitate marble. Blise is one such product. The mineral effect you get is due to small particles of different colours and sizes:
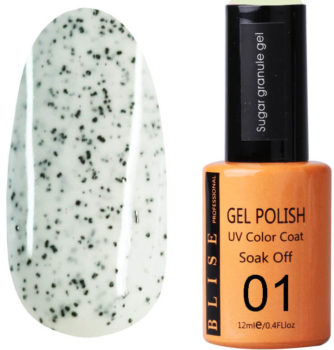
Some stores also sell marble sliders. Aliexpress will offer you the biggest selection, but it is also sold on other online platforms.
Tips to marble manicure making
1. You should choose a polish of medium density. Too liquid polish will produce stains, and too thick one will form lumps. As a result, you will not be able to obtain smooth stains. All products for marble manicure must be of good quality; otherwise, the coverage will quickly become unserviceable.
2. Remember about patience. Like any other technique, marble will be ineffective in a rush. If you don’t want to sit over the drawing of each nail, select a few nail plates that will show the accent of the nail with a marble pattern, and work on them only.
3. Marble manicure requires special skills from you, so you must be prepared for the fact that you will not be able to create the perfect design from the first time. First, practice with the trainer to increase your skill.
How to create marble manicure: five options
Option 1. How to do marble nails with gel polish and brush
Perhaps the most popular and simple method of creating a stone effect is drawing with a brush. For design to be successful, you will have to use basic artistic skills if you have them.
This process requires such tools as:
- gel polish of two shades. The best option is when the funds are one firm. To create a classic marble decoration, you should use white and black;
- base and top;
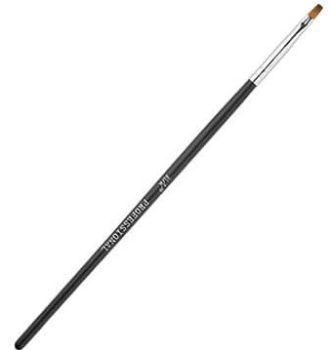
- small brush. Such brushes are what almost all brands of manicure products sell, such as ruNail, TNL, Irisk. In the photo below, there is the brush from the Runail Nail Art Nylon 000/3, 12 mm.
![]()
Preparation of basis
1. Wipe the nail plate with alcohol and after it has evaporated, apply basic polish;
2. Drip basic polish under a special lamp for 30 to 120 seconds, depending on the type and power of the equipment;
3. Create a white gel polish coating followed by drying it. If necessary, apply the basis colour again to make the coating strong and reliable.
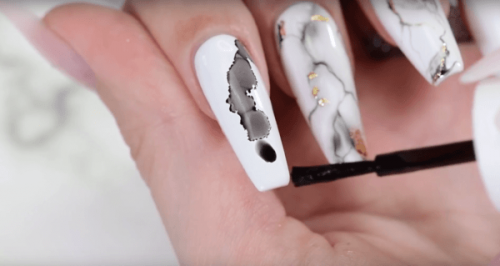
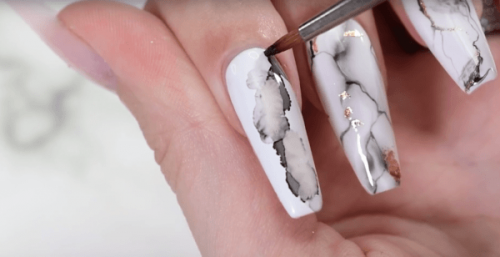
Pattern creating
1. On top of it dried gel polish, you should apply a thin layer of top.
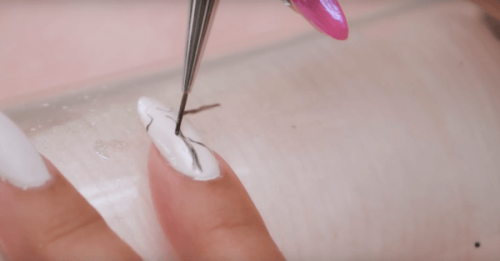
2. Then you must, with a small brush, draw the barely noticeable thin lines by black gel polish.
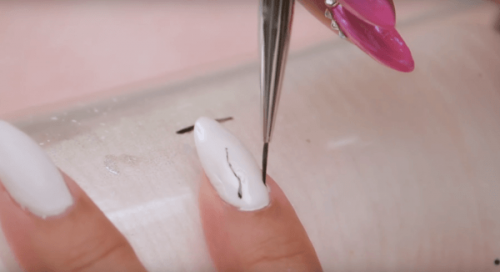
3. Lines must be chaotic and different for each nail, and the process must continue until they are sufficient for your plans. Lines should not be clear, so some of them can be deliberately gracefully smeared.
If you don’t like the result, you can remove the pattern with a sponge, which you will moisten into a cleanser and align with an emery board with a roughness rate between 180 and 240.
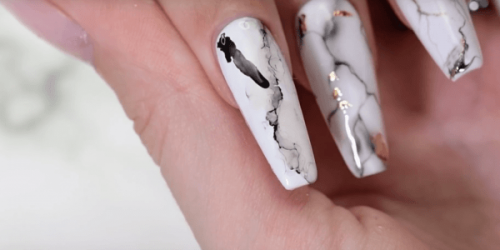
4. Final steps
1. First, you dry the pattern under the LED lamp will allow you to do it in 60 seconds and UV one in 120 seconds;
2. After that, you’ll cover your nails with the finishing polish and dry them again.
Remember, before finishing polish, you can complete your nail design with rhinestones, glitter or other decorative elements if you want. In this case, the best option is if your top polish has a sticky layer that will help you create a unique pattern.
👉 Video: For Ways To Make Realistic Marble Nails With Gel Polish
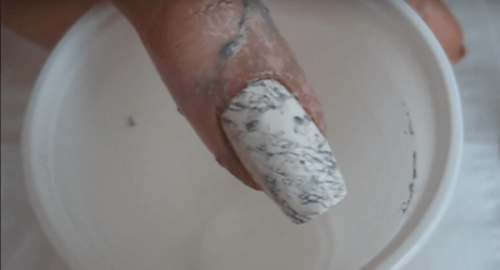
Option 2. Water marble nails
Water manicure is the creation of patterns on nails with water. When you form the right picture in the water container, you can get a realistic marble design.
1. Provide basic manicure preparation;
2. Fill a small container of water, such as a plastic cup, with a grey or black gel polish. However, you can choose any colour, but it is the grey and black ones that create the most realistic pattern;
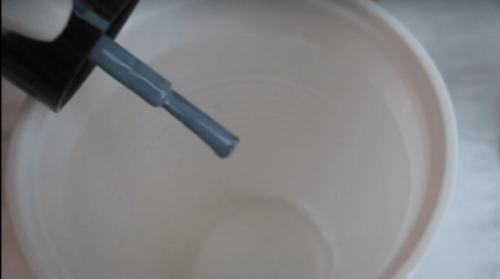
3. After each drop of polish, you must wait until it is properly diffused on the surface of the water;
4. You should continue to drip polish in water since it will not become grey;
5. Then you should hairspray in water. This will help you to ensure that the pattern will not form circles, but chaotic inclusions;
6. Put your finger in the centre of the grey pattern;
7. With caution, remove the excess material from your skin; dry this pattern under the lamp and cover it with a top polish.
👉 Video: Water Marble Nail Art For Beginners
Option 3. Marble manicure by an alcohol solution
Tools and materials:
- black and white gel polish,
- basic or top polish,
- alcohol solution (the best variant is pure alcohol),
- brush, which should be thick and with short fibres, such as №01 one.
Preparation step
1. Apply the base coating and dry the nail, then perform its wrapping procedure and apply a thin layer of basic polish and dry it again;
2. Cross your nails with white gel polish and dry again. If you want, you can apply a colouring polish too.
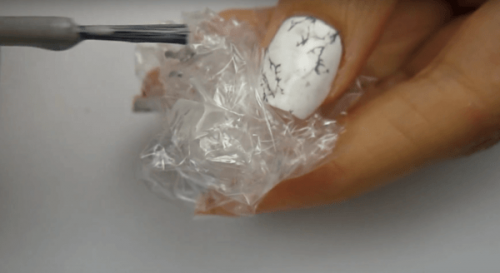
Pattern creating
1. You can use a sponge or a napkin that you soak with alcohol and scrub your nails by it;
2. By black gel polish, on the alcohol surface, draw a thick line diagonally, namely from the right angle of the nail to its left edge. Try not to apply too much pressure on your fingernail when you form a band because the alcohol solution helps to achieve smooth stains;
3. Next, you’ll take a brush and press it slightly to liquid black gel polish, and then you should remove the moisture from it;
4. Then, the step of removing unnecessary drawing details follows. For this, you should use a brush that you moistened in alcohol;

5. In the other corner of the nail, you will make one small stain with black polish and repeat the moistened by brush;
6. Then, you have to dry the nails under the lamp and cover them with a top polish.
Be careful, since the method in which alcohol is used dries the skin. That means you should moisturize your fingers with oil or cream after you’ve created a manicure.
👉 Video: How to Create Marble Nail Art using DIY Alcohol Ink
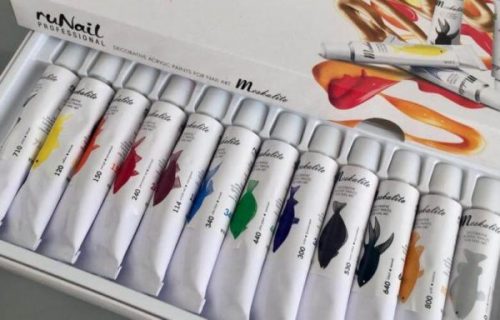
Option 4. Marble nail design with regular polish and acrylic paints
- regular polish for nails of any colour;
- black acrylic paint such as one of the sets Runail;
- thin brush such as Runail Nail Art Nylon №000/3;
- small container with water.
Regular polish is something you can use without additional tools such as a fastener and basic polish. However, if you use this, your nails will be stronger and more durable.
1. First is the nail preparation phase. You have to get a manicure, cover your nails with your favourite colour and dry them;
2. Then you should squeeze out a few drops of black acrylic paint;
3. Wet the brush in water and scoop up some dye after you remove its surplus with foil;
4. Start creating a marble pattern on your fingernails and make light movements. The mixture of paint and water allows to make blurry lines that have beautiful stains;
5. If you want to add a little glitter and wait for the marble of the air to dry completely.
👉 Video: Seven ways to DIY Marble Nails with Regular Polish
Option 5. Use stamping to do marble effect
If you use this method, you can imitate malachite and amethyst. At the same time, you won’t need the special skills to create such a manicure. You can use this option even at home and not just in beauty salons.
- basic or top polish;
- gel polish of three different colours, which are very similar to shades of the chosen mineral.
- or malachite, the ideal option is two dark shades, such as green and grey;
- stamping with a silicone pad;
- liquid tape.
You have to make colouring before you go to create a manicure.
1. First, you should cover the liquid skin around the nails;
2. Then, you will apply several drops of different gel polish on your nails (you should not fear their possible mixing because it will allow you to create a pattern that will remind you of a natural mineral);
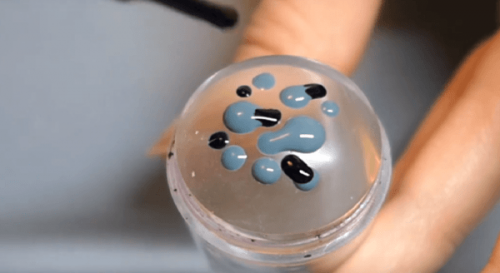
3. Next, you imprint polish on a nail, but not as in stamping technique, but with short squeezing motions, as in the process of moistening nails (each polish will be mixed with each other and thus will create a realistic mineral print);
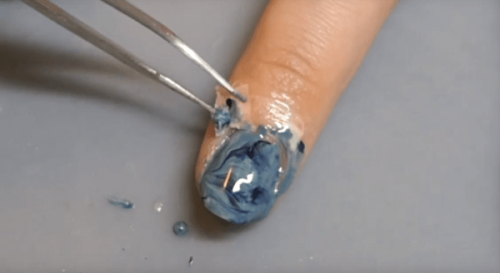
4. Finally, you will remove the tape and dry the nails under the lamp. Then you will strengthen them with a top polish. If the liquid is under the nail, you should clear it before the polymerization procedure.
Now you learned that marble manicure is something you can create even at home and without special equipment. You can write in comments about which option you like most.
👉 Video: Marble Nails Using Clear Stamper
The best colors for marble manicure
You can choose any colour for this type of manicure, including your favourite one. However, there are a few combinations that will bring you closer to the image of this natural mineral:
- white and pink;
- white, black or grey;
- blue and magenta (this is a variant in which a turquoise imitation will result);
- different shades of green will make an image of malachite;
- beige colour and its derivatives will help you to create an extravagant and restrained manicure at the same time, which will be ideal for everyday use;
- black with metallic shades such as gold and silver.
The best colors for marble manicure:
1. White Marble Nails
Source: @sugarcoatmidtown
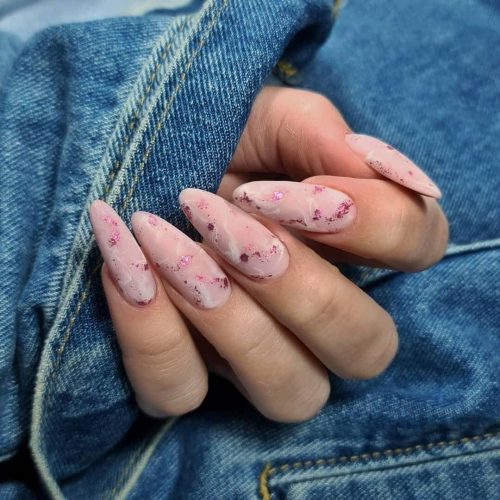
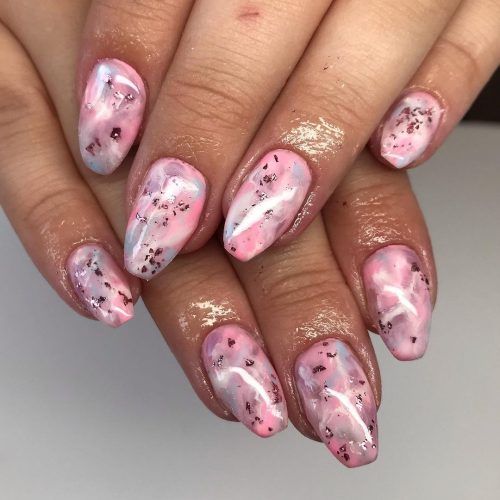
2. Light Pink Marble Nails

Source: @poshtips_nails
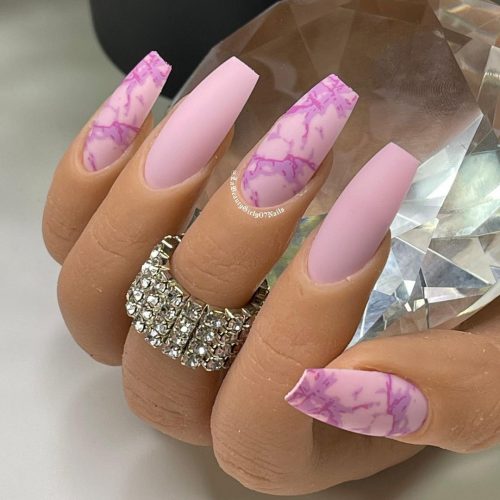
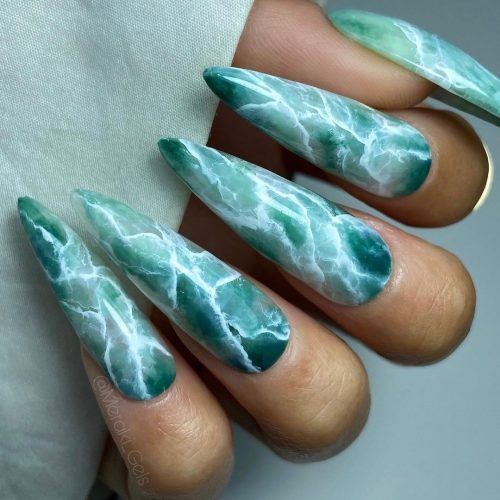
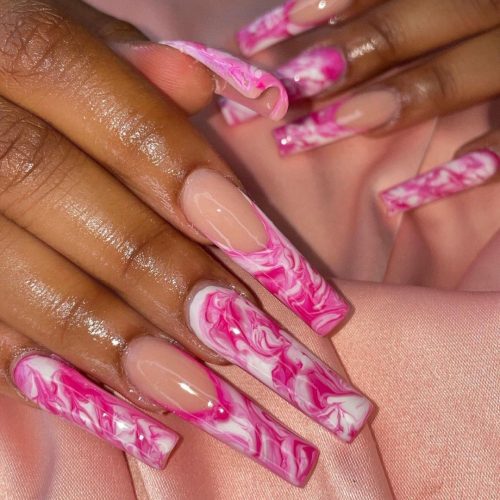
3. Hot Pink Marble Nails

Source: @meraki_gels
Take a look at stumming pink nail designs – 45 ideas in 86 photos.
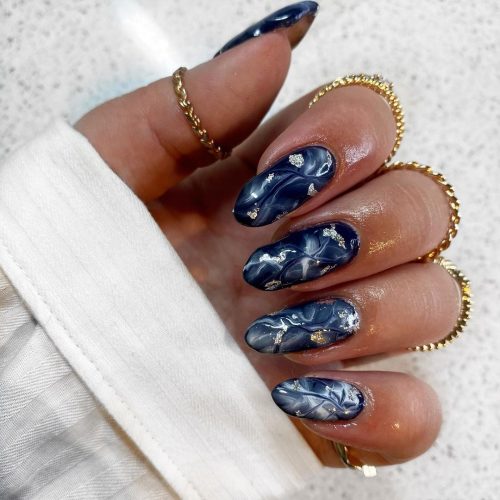
4. Dark Blue Marble Nails
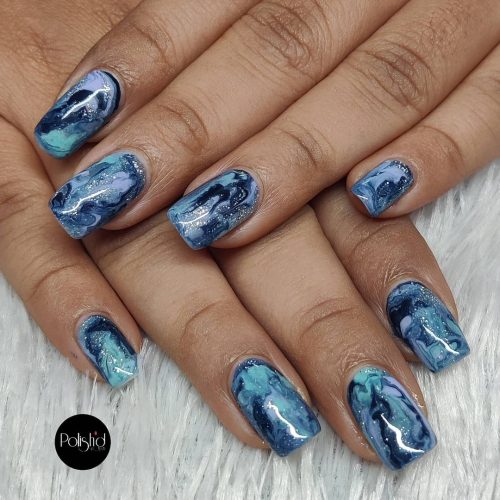
Source: @polishdnailbar
5. Black Marble Accent
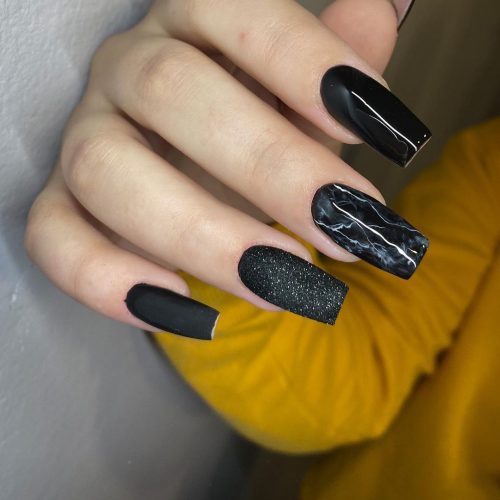
Source: @_petraanails_
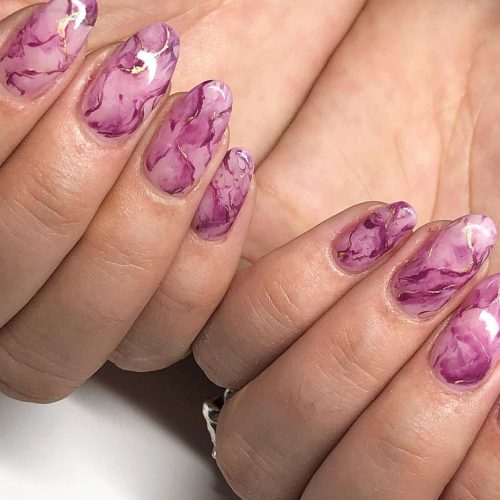
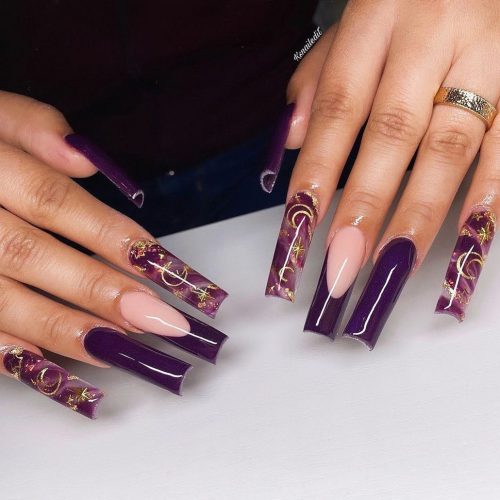
6. Purple Marble Nails
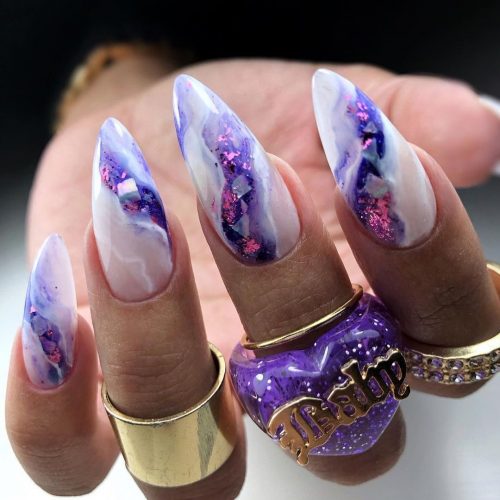
Source: @nailsbylily.v
7. Red and White Marble Nails
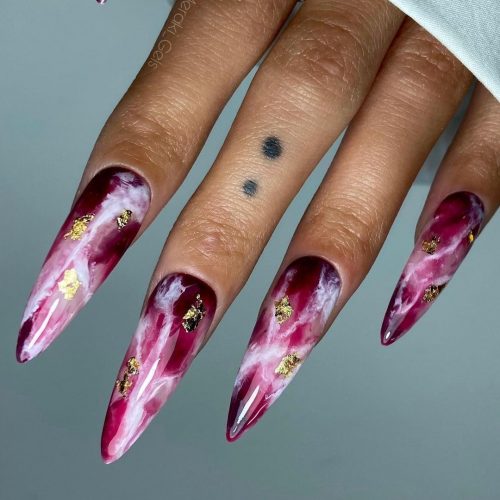
Source: @meraki_gels
8. Dark Green Marble Manicure
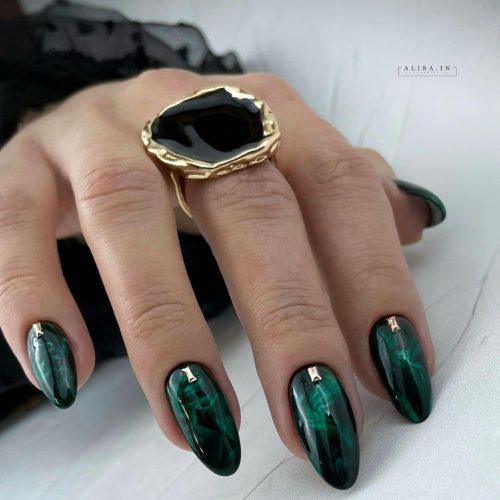
Source: @alisa.in_
9. Lime Green Marble Coffin Nails
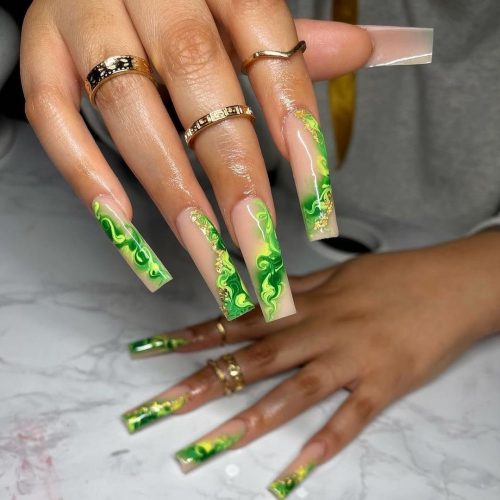
Source: @g4lnails
10. Black and White Marble Nails
Source: @anna_nails_it
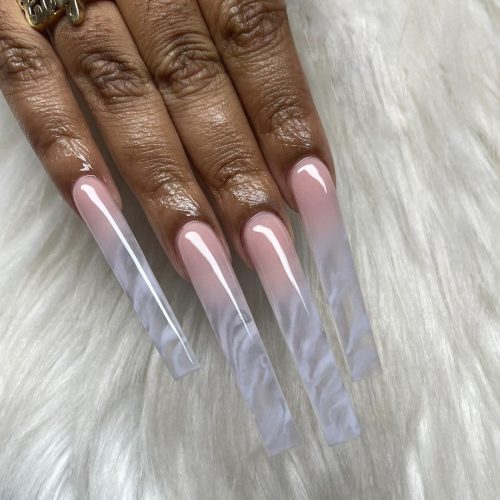
11. Coffin Clear Marble Nails
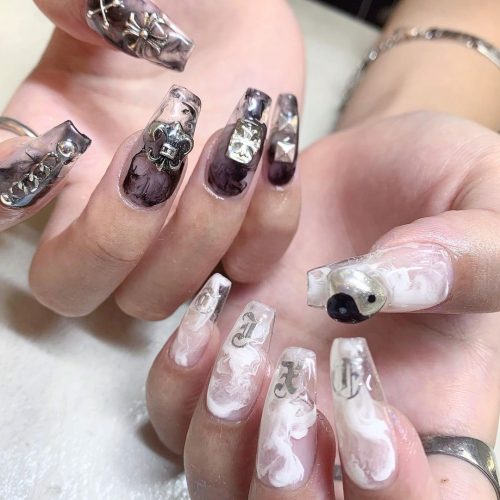
Source: @nailsalon_artbyyou
12. Ombre Marble Nails
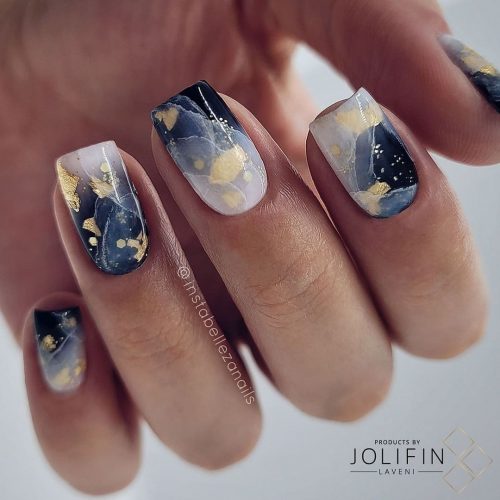
Source: @instabellezanails
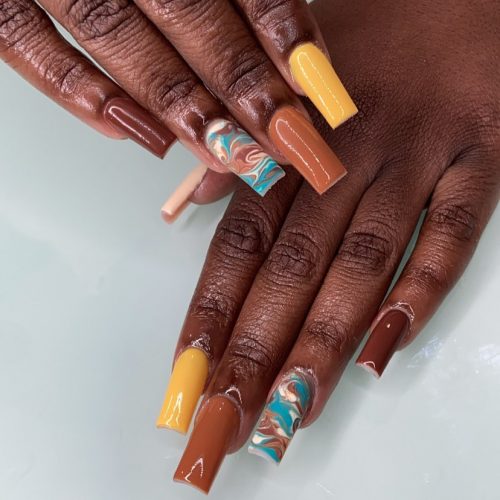
13. Brown Marble Acrylic Nails
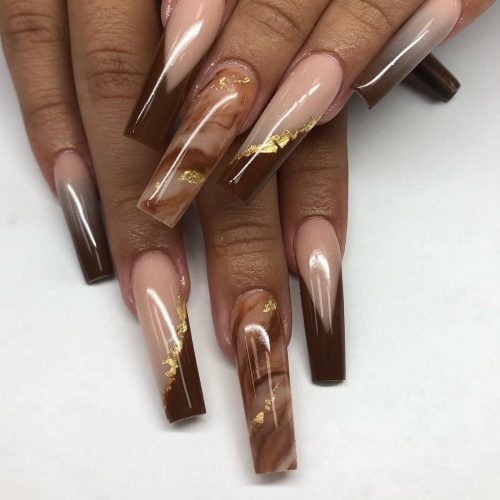
Source: @tom_nails1991
14. Brown and White Marble Manicure
Source: @insatiablenails
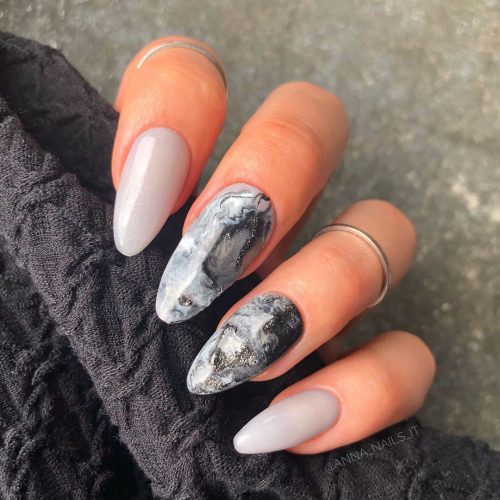
15. Grey Marble Manicure
Source: @alisa.in_
16. Pink and White Nail Design
Source: @donatam_nails
17. Nude Marble Nails
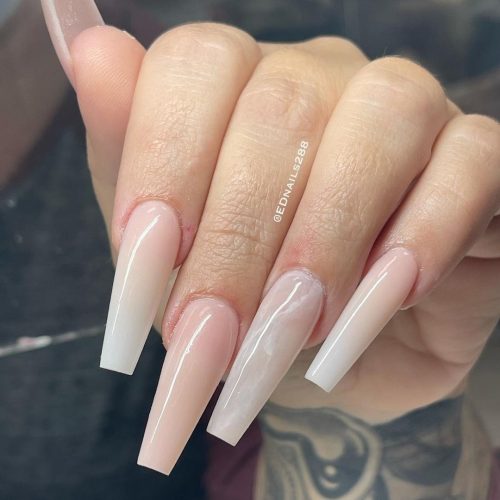
Source: @ednails288
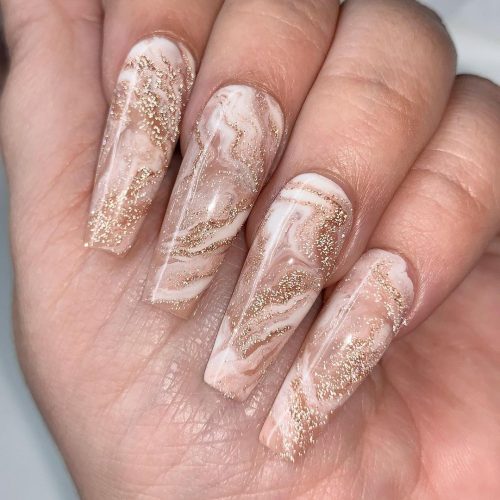
18. Rose Gold Marble Nails
Source: @classicrednails
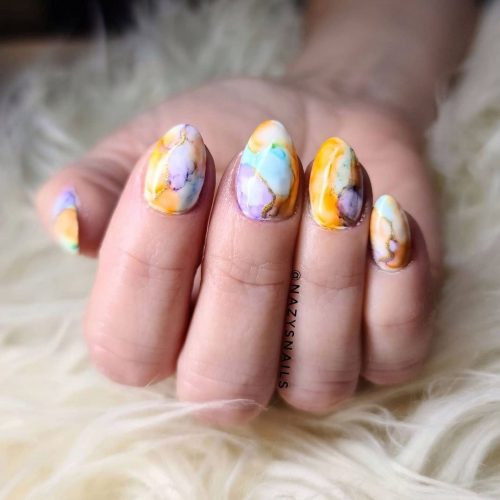
19. Colorful Marble Accent
Source: @verellasnails
20. Blue and White Marble Nails
Source: @gelnailsby_
21. Red and Black Marble Nails
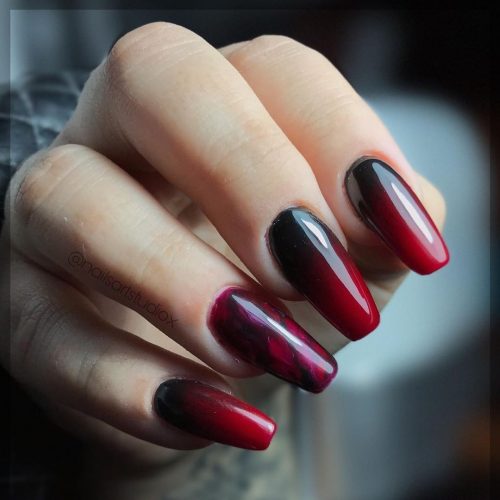
Source: @nailsartstudiox
22. Royal Blue Marble Manicure
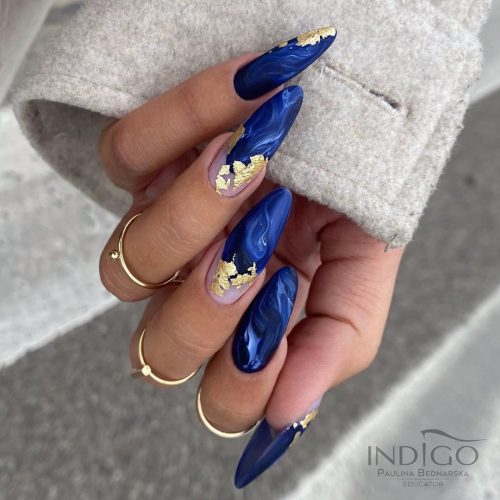
Source: @indigodistributor_sara
23. French Green Marble Nails
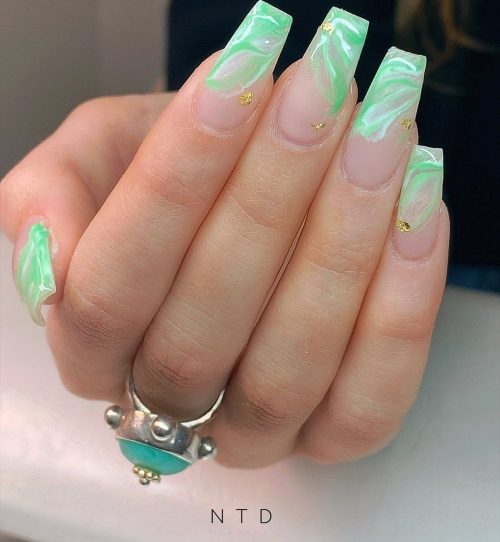
Source: @ntd.melbourne
24. Brown Marble French Tips
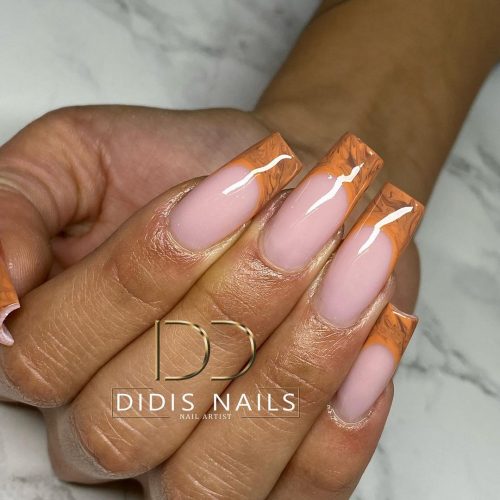
Source: @didisnails
25. Rose Gold and Pink Marble Manicure
Source: @nycchiaranails
26. Matte Marble Nails
Source: @dollartree
27. Black and Gold Marble Nails
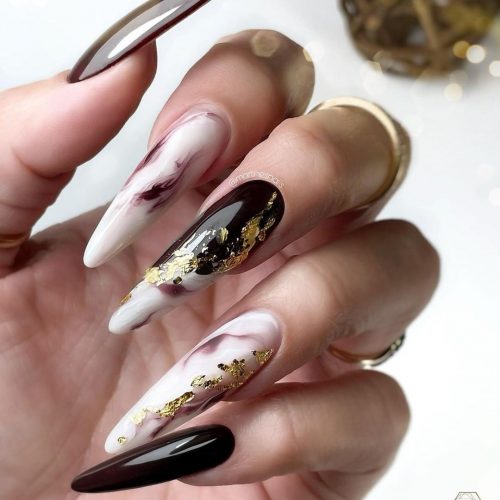
Source: @martinesnails
28. Teal Marble Accent
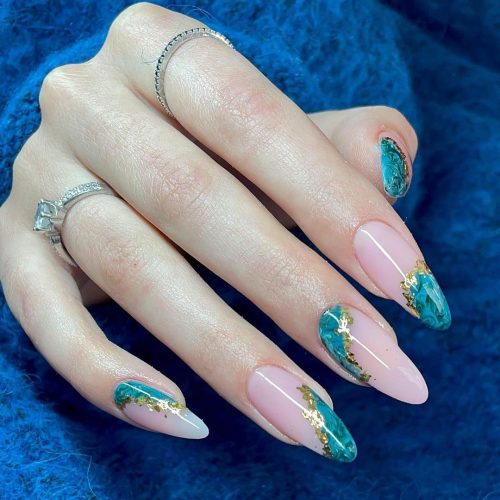
Source: @nailsbymilee
29. Lavender Marble Manicure

Source: @katica_krkic
30. Pink and Light Blue Nails
Source: @beautique_kent
31. Yellow Marble Nail Art
Source: @awsmcolorofficial
32. Neon Marble Nails
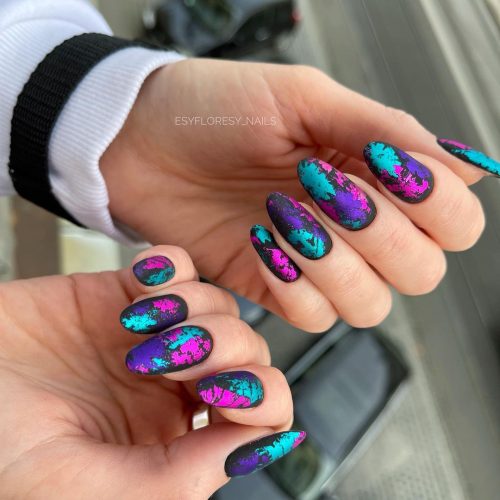
Source: @esyfloresy_nails
33. Fall Colors Marble Nail Design
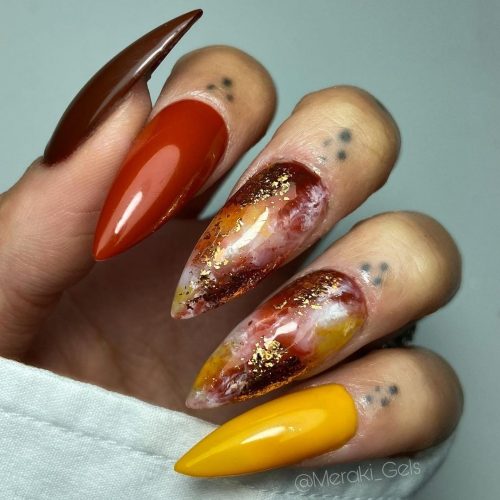
Source: @meraki_gels
34. Marine Marble Nails
Source: @meraki_gels
35. Long and Clear Coffin Marble Nails
Source: @liquorlasheslipstick
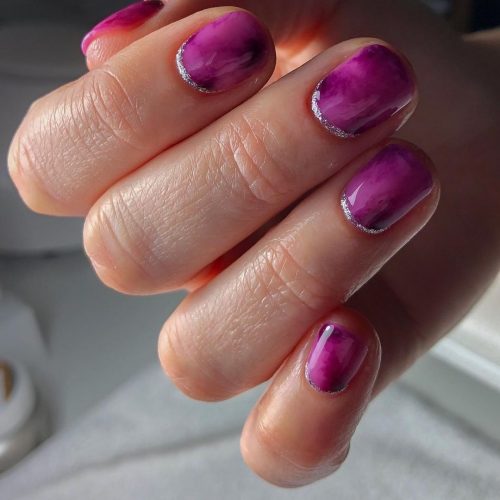
36. Purple Marble Accent
Source: @nailpromagazine
37. Pink and White Coffin Marble Nails
Source: @transformatxon.nails
38. Black Marble Coffin Nails
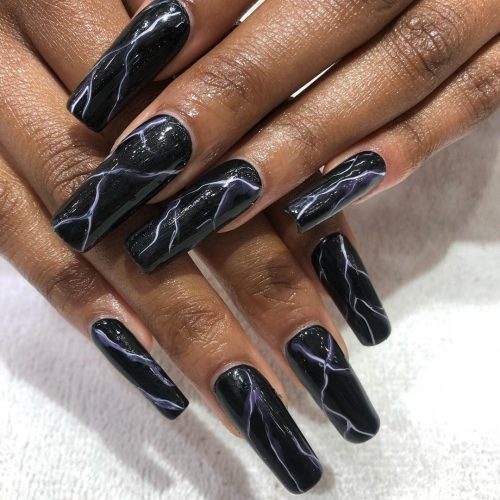
Source: @polished_dtla
39. Short Lavender Marble Nails
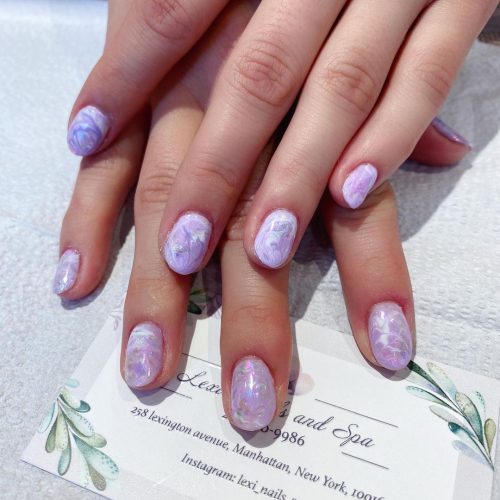
Source: @lexi_nails_spa
40. Natural Short Marble Nails
Source: @clw_nailartist
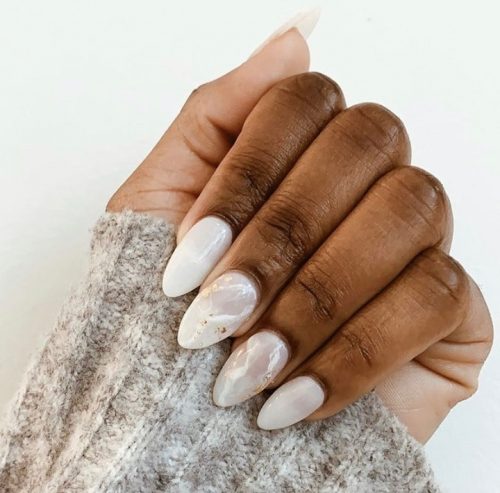
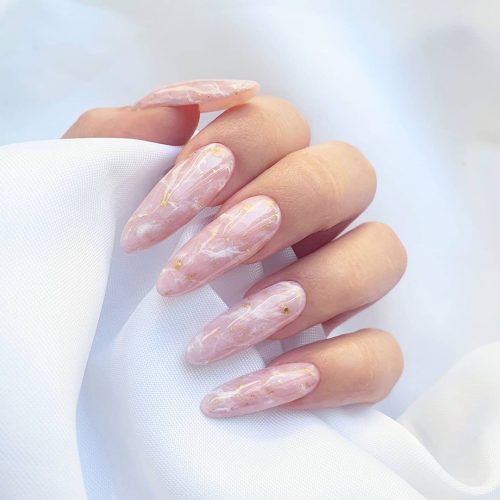
41. White Marble Almond Nails
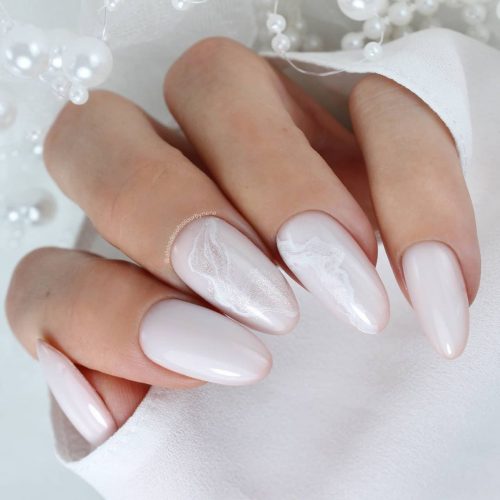
Source: @allshadesofcolourbynena
42. Brown and Pink Marble Almond Nails
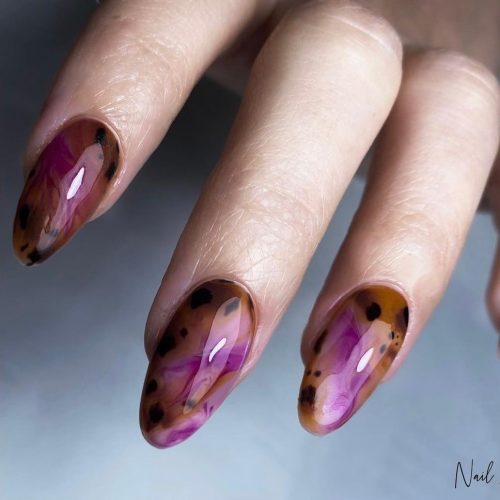
Source: @nail_blisss_
43. Acrylic Marble Almond Nails
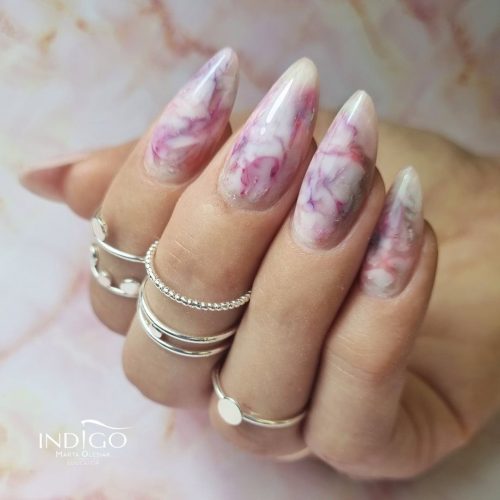
Source: @marta.olesiak
44. Green Marble Almond-Shaped Nails
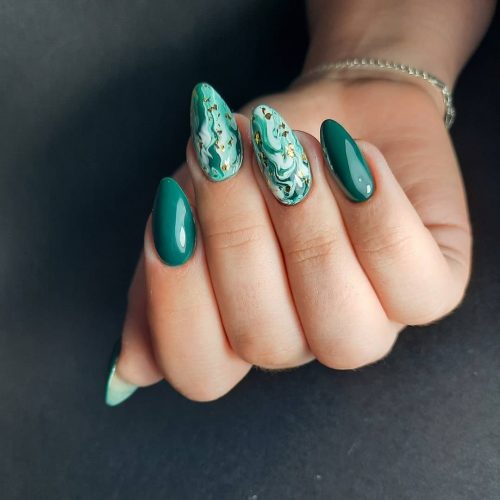
Source: @mikica_nails
45. Long Stiletto Marble Nails
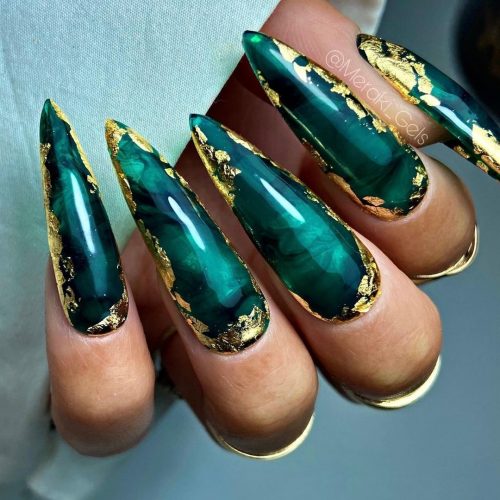
Source: @meraki_gels
46. Stiletto White and Brown Marble Nails
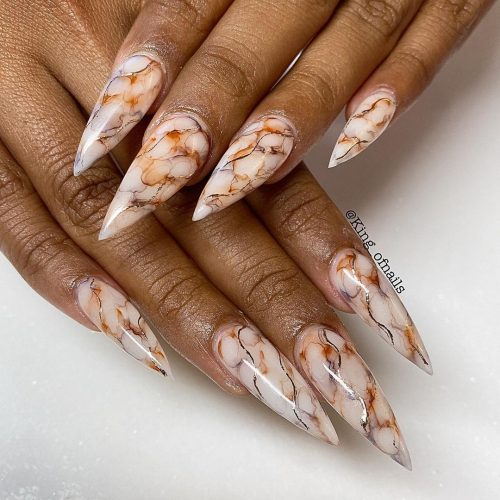
Source: @king_ofnails
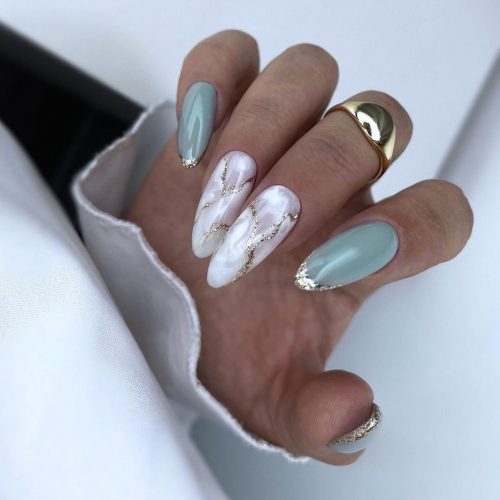
47. Stiletto Marble Nails in Grey and Teal Colors
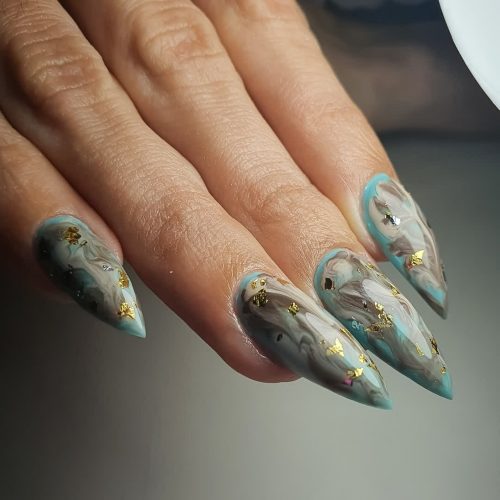
Source: @studiosophiaferraiolinails